Web3 is home to all kinds of decentralized apps, or DApps. There are decentralized versions of financial tools, games, social media, and more, all of which require a crypto wallet to access. But thanks to companies like Brave, wallets are becoming more integrated with the Web browsers you use everyday.
A Web3 browser, then, is one that has crypto wallet capabilities. But before we dive into Web3 browsers, it’s important to understand how crypto wallets enable you to connect to Web3.
Crypto wallets: the key to connecting to Web3?
A crypto wallet is a digital wallet that lets you store and maintain custody over your digital assets (like cryptocurrencies, tokens, and NFTs). But they’re much more than storage—they also grant users access to websites and DApps on Web3. In that regard, they’re more like a digital passport and wallet in one.
In Web 2.0, you log into websites and apps with usernames and passwords, so it may seem odd to think of connecting to a website with a wallet instead. But there’s good reason for it: Web3 is built on blockchain networks, and blockchains require cryptocurrency to function. And because crypto is so fundamental to Web3, crypto wallets play a crucial role in navigating the decentralized Web.
It’s also worth noting that the very first DApps built on Web3 were financial ones. That means most of the first Web3 users were logging in to do things like trade, lend, or borrow crypto. Here, too, crypto wallets were vital to participate.
How Web3 login is more secure than the Web 2.0 model
Over time, this new model of logging into Web3 DApps became the norm—it’s more seamless and secure than the Web 2.0 model of usernames and passwords.
On Web 2.0, your username and password are paired together and stored on that website’s servers. When you log in, that site checks to make sure the username and password match up. If they do, you’re granted access. The problem with this model is that it’s up to each individual website you have an account with to keep your credentials safe. It also means you have to create—and remember—dozens or even hundreds of different username/password combinations.
And, usually, this doesn’t happen. Most people reuse the same username/password combos from site to site, which creates an easy way for bad actors to hack your stuff. And email addresses, usernames, and passwords get stolen from websites’ central databases all the time.
The Web3 model, however, places the security and login mechanisms directly within your crypto wallet—something that you alone have control over.
How to access Web3 with your crypto wallet
Typically, you’ll install a crypto wallet as a plugin (or “extension”) to your browser, or as an app on your mobile device. MetaMask, for example, is one of the first, and most popular, crypto wallets. It’s available as an extension for Web browsers like Brave, Chrome, and Firefox (and others), and has mobile apps for Android and iOS.
When first setting up a crypto wallet like MetaMask, you’ll be asked to come up with a password, and also write down your “recovery phrase” (or “seed phrase”). This is typically a list of 12 (or sometimes 24) words. If you forget the password to your crypto wallet, the recovery phrase is the only possible way to recover the wallet and its assets.
Each crypto wallet has its own “address” that serves as a unique identifier. No two wallets have the same address. So when you visit a site with Web3 capabilities, you’ll be prompted to connect your wallet in order to access that particular site or DApp. At that point, your wallet’s unique address works like a username that you can use universally across all of Web3.
Learn more about the pros and cons of extension wallets.
What’s a Web3 browser?
Web3 browsers are exactly what they sound like: Web browsers that are capable of connecting to Web3. A Web3 browser will always have some form of crypto wallet capability.
While it’s easy to add extension-based crypto wallets like MetaMask to any browser, it’s also easy to create fake (or “spoofed”) versions of these extensions, and trick people into using them. If you download a spoofed version, you could create opportunities for bad actors to gain access to your account and steal your assets. And this, in turn, can negate the security protections of Web3.
To combat this, browsers like Brave are making things even more accessible and safe by building a crypto wallet natively in the browser.
To illustrate the difference, consider Google Chrome. It isn’t natively a Web3 browser, but you can easily install the MetaMask extension on Chrome. Meanwhile options like Brave Wallet have built-in, browser-native crypto wallets. No extensions required.
But it isn’t just about the wallet. A Web3 browser may also be more geared toward privacy and anonymity than a traditional Web 2.0 browser. Brave, for example, has hundreds of privacy and security features like blocking trackers, fingerprinting, and phishing; a built-in firewall + VPN; and advanced features like query parameter filtering and private windows with Tor. While not directly related to Web3, these extra privacy features are a welcome addition to any browser you intend to use for Web3 activities.
Connect to Web3 with your browser
The only way to connect to DApps on Web3 is with a crypto wallet. And it’s up to you to decide whether that crypto wallet is an extension on a browser like Chrome, or a built-in wallet on a privacy browser like Brave.
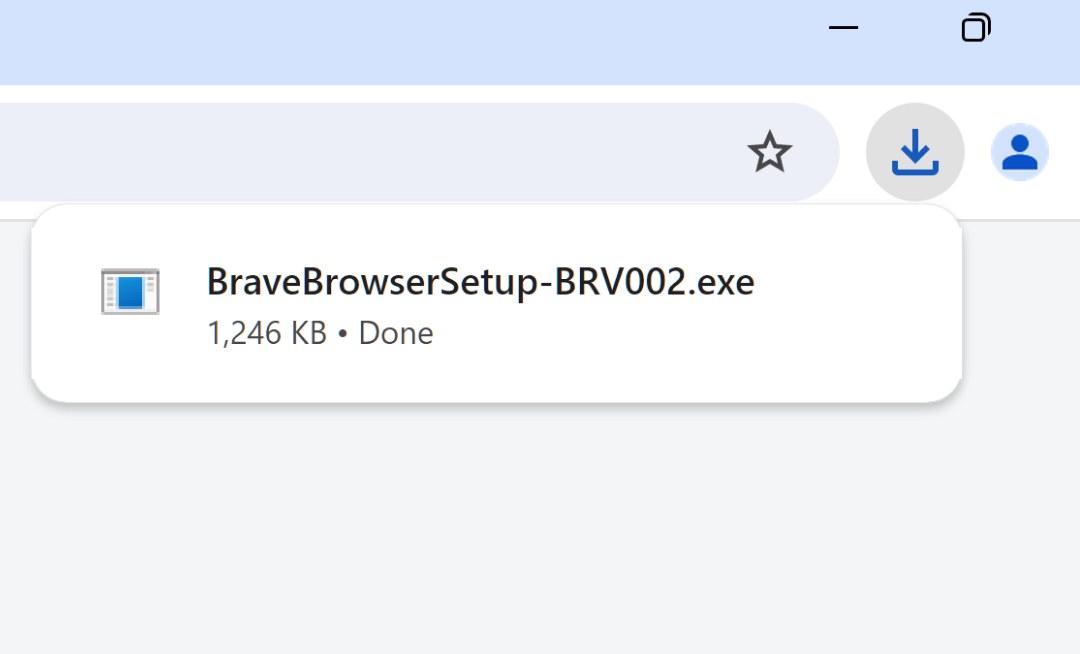
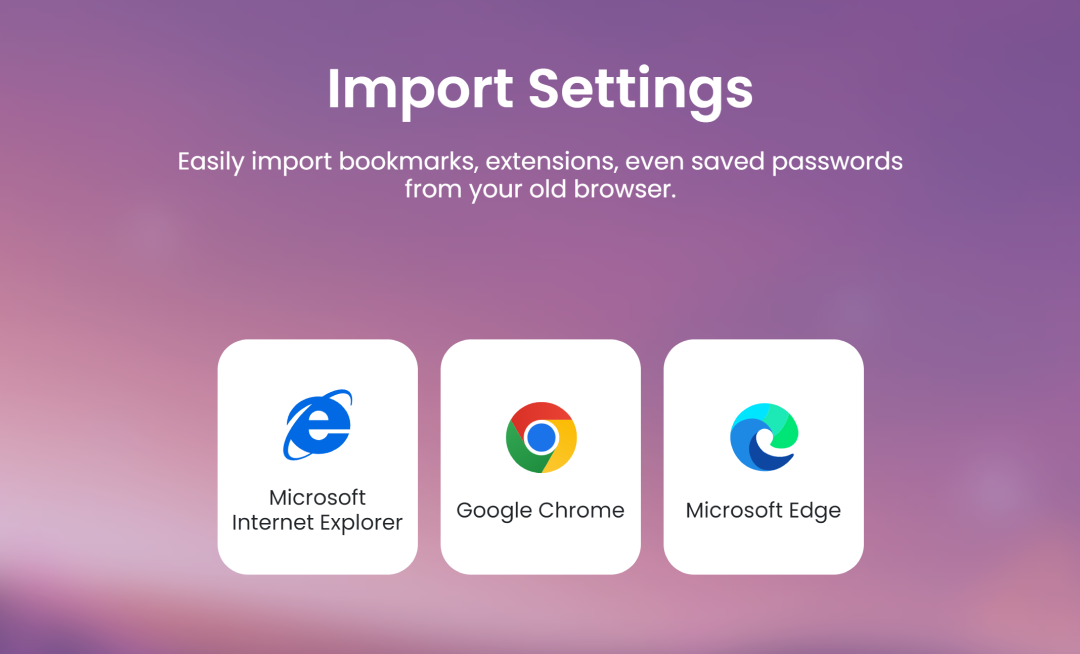
It’s easy to get started with Brave (and Brave Wallet). Just download Brave, import settings from your old browser, get online, and ditch Big Tech. It only takes 60 seconds to switch.