How do I set up a custodial crypto wallet?
Looking to find out how to set up a custodial cryptocurrency wallet? Check out our easy-to-follow guide on choosing and setting up a custodial wallet.
Read this article →There are basically two crypto wallet options: custodial or non-custodial (aka “self-custody”). The difference comes down to private keys, which are essentially a secret number that acts like a password. Anyone who knows the private key can manage (i.e. send, trade, or spend) the assets in a crypto address.
There are risks with both options. As with any other technology, crypto custody entails placing trust in the software or hardware you use. Whether it’s a custodial option hosted by a centralized exchange like Coinbase or a self-custody wallet like MetaMask, you’re trusting the provider you choose. So it’s important to only use trusted, reputable options.
If you do choose a self-custody wallet, there are some things you should know during setup. In this article: A primer on getting started with a self-custody wallet.
Learn more about crypto custody, and custodial vs. self-custody options.
The difference between custodial and non-custodial wallets is about who controls the private keys:
 Custodial vs. non-custodial wallets
Self-custody wallets store your private keys, and serve as an interface to manage your crypto (which is actually stored on blockchains). Self-custody wallets let you send and receive crypto, and connect to decentralized apps (DApps). With a self-custody wallet, you manage your private keys (with the help of a trusted wallet provider), meaning you have complete control of your assets.
With custodial wallets, meanwhile, a third party (like a centralized exchange, or CEX) controls your private keys, and therefore has custody of your crypto. When you log into the third-party service provider, you can do basic things like send and trade your assets, but you likely won’t be able to connect to DApps. And, ultimately, you must trust the third-party custodian to keep your private keys safe.
And both kinds of wallet will let you handle basic tasks like viewing balances and transaction history for your crypto addresses.
The main reason to self-custody your crypto is to avoid trusting a custodian (like a CEX) to protect your private keys. A custodian—just like a bank—could go bankrupt, commit fraud, or otherwise misuse funds without your consent. Self custody lets you alone manage your assets, with the help of a trusted wallet.
To set up a self-custody wallet, follow the steps below.
Note: Most self-custody crypto wallets have a similar setup flow. For more specific technical help, refer to the documentation of your wallet provider.
Before you choose a self-custody wallet, you should know the different types. The biggest distinction is software versus hardware wallets.
Software (or “hot”) wallets
Software wallets are available as apps on your computer, phone, or tablet, or as an extension in your Web browser. They’re often called “hot” wallets, because they’re connected to the Internet. Hot wallets make it easy and convenient to manage your crypto, as they keep your private keys always at-hand and online. But for this same reason, they’re less secure than their hardware counterparts because a phone or computer can be hacked.
Note: There can also be a concern with “spoofed” browser extensions. More on that later.
Hardware (or “cold”) wallets
Hardware wallets are physical devices (often resembling a USB drive) that store your private keys offline. This is sometimes referred to as “cold” storage.
Hardware wallets securely sign transactions with your private keys offline, then broadcast the signed transaction once you connect the hardware wallet to your phone or computer. While your private keys can’t be revealed while you’re offline, the tradeoff for this extra security is less convenience.
There’s no right or wrong choice between a software or hardware wallet—it all depends on your own preference and risk tolerance. Lots of people will use both, treating software wallets like cash in their pocket, and hardware wallets like a locked safe for larger amounts of crypto.
Whatever you choose, know that not all wallets are created equal. You need a trustworthy provider—that is, someone you can trust to actually do what they promise with respect to your private keys. Popularity usually (though not always) correlates with trustworthiness: When it comes to wallets, it’s good to stick with the known. Look for wallets with high ratings and lots of ratings.
Popular software wallet options
Some of the most popular software wallets are MetaMask and Coinbase Wallet (not to be confused with the custodial Coinbase CEX). However, note that both operate as extensions to your browser, so be careful: Extensions need to be granted lots of permissions over your browser (like the ability to read and write to any webpage), and can thus be vectors of risk. It’s not uncommon for attackers to exploit people by “spoofing” these downloads, and redirecting to an illegitimate version of the extension with the sole goal of defrauding.
For more info on spoofing, check out our deep dive on wallet security.
Popular hardware wallet options
Two of the most popular hardware wallets are Ledger and Trezor. Both have procedures to verify the devices you purchase are authentic and haven’t been tampered with. And both are well-known, reputable suppliers, used by millions of crypto holders worldwide.
The browser-native option: Brave Wallet
To avoid the risks of extensions, Brave created Brave Wallet: a self-custody crypto wallet that’s built into the browser. No extensions to download. Brave Wallet brings secure crypto self-custody, across desktop, Android, and iOS. It even offers seamless integrations with popular hardware wallets like Ledger and Trezor. With Brave, users can diversify by using both software and hardware wallets, storing certain private keys offline.
If you’re creating a new wallet, you’ll first create—and safely store—your “recovery phrase” (or “seed phrase”). This phrase consists of a sequence of words (usually 12 or 24) in a specific order.
The recovery phrase represents your wallet’s master private key, which has two important roles:
What is a recovery phrase?
A recovery phrase is the human-readable version of your master private key. It’s easier to record the phrase than a 64-character hexadecimal string (like afdfd9c3d2095ef696594f6cedcae59e72dcd697e2a7521b1578140422a4f890), but they serve the same function.
Notes:
Crypto addresses (and their private keys) are automatically created when you set up a crypto wallet. You can use your wallet to generate additional crypto addresses, but you can’t generate a crypto address without a wallet.
You’ll need a separate crypto address for every blockchain you want to interact with. Brave Wallet, for example, automatically creates crypto addresses for Ethereum and Solana.
Every address created in your wallet has its own private key that’s derived from your wallet’s master private key. Importantly, that means your recovery phrase grants access to all the private keys that are created within your wallet. If it’s compromised, all your private keys are exposed (except for those from imported accounts).
What are imported crypto accounts?
Imported accounts are crypto addresses that are generated in one wallet (e.g. MetaMask)—using that wallet’s master private key—and then later added to another wallet (e.g. Brave Wallet). In this example, Brave Wallet can display info about the address imported from MetaMask, and allow you to manage that address through the Brave Wallet interface. But the address wouldn’t be tied to your Brave Wallet recovery phrase.
The last step is to add crypto to your wallet, either by transferring crypto from a CEX, or by purchasing crypto directly with fiat currency (if your wallet supports it). Brave Wallet, for example, supports fiat purchase via several partners.
If you’re transferring assets from another wallet or exchange, the process will vary slightly. Follow your existing wallet provider’s steps to send crypto to a new external address (i.e. your new self-custody wallet address). For example, Brave Wallet has its own specific instructions for transferring funds.
Before transferring crypto from one wallet to another, be sure to:
Once you’ve funded your self-custody wallet, you’re solely responsible for keeping your assets safe. To that end, you should follow a few best practices:
Lastly, if you’re looking for a secure, browser-based self-custody wallet, check out Brave Wallet to get started with self custody today.
Looking to find out how to set up a custodial cryptocurrency wallet? Check out our easy-to-follow guide on choosing and setting up a custodial wallet.
Read this article →Why are recovery phrases important? In this article, we explain what they are used for and why it's so important to manage them accordingly.
Read this article →Not sure which crypto wallet is the most secure for your needs? In this guide, we break down the different elements you should consider when choosing one.
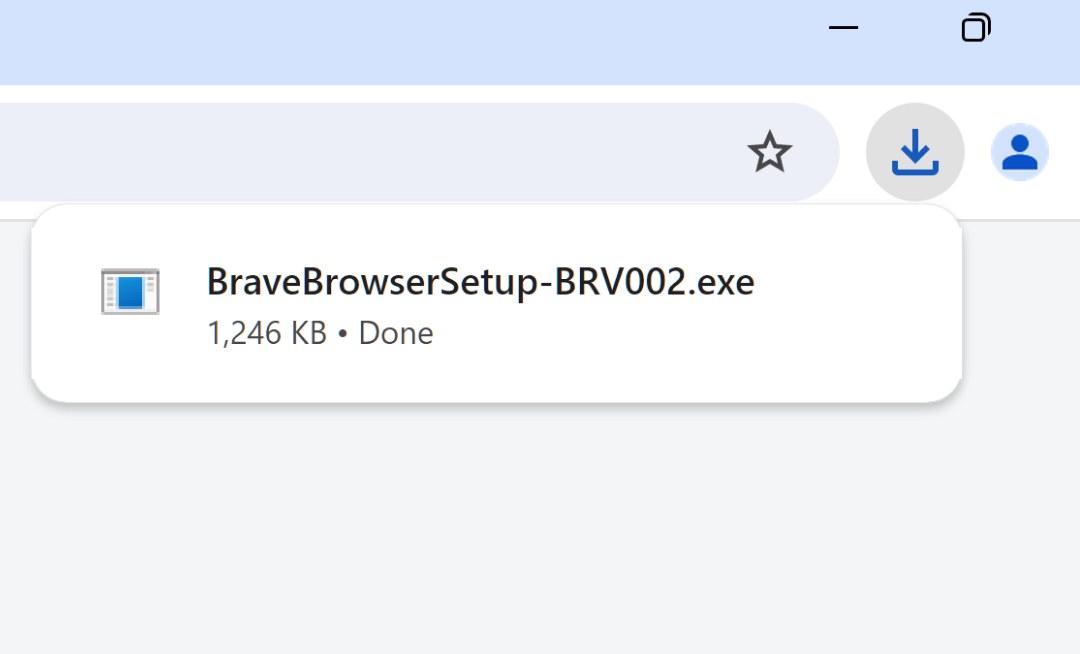
Read this article →Open the installer from Chrome's downloads (it should be in the upper right corner of this window).
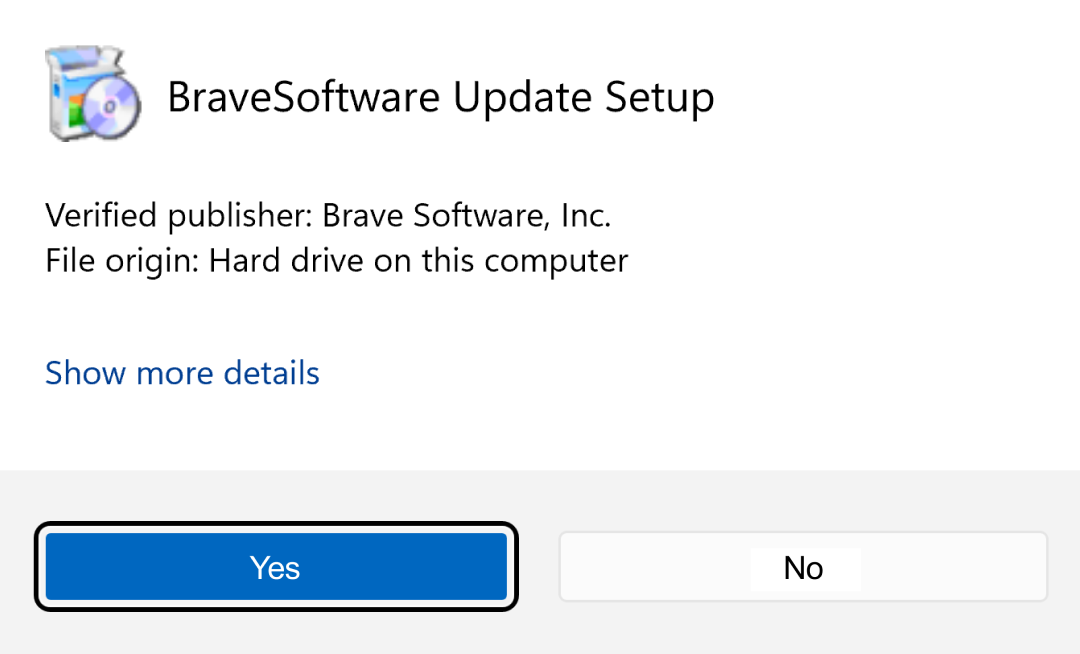
If you're prompted to, click “Yes” in the User Access Control dialog.
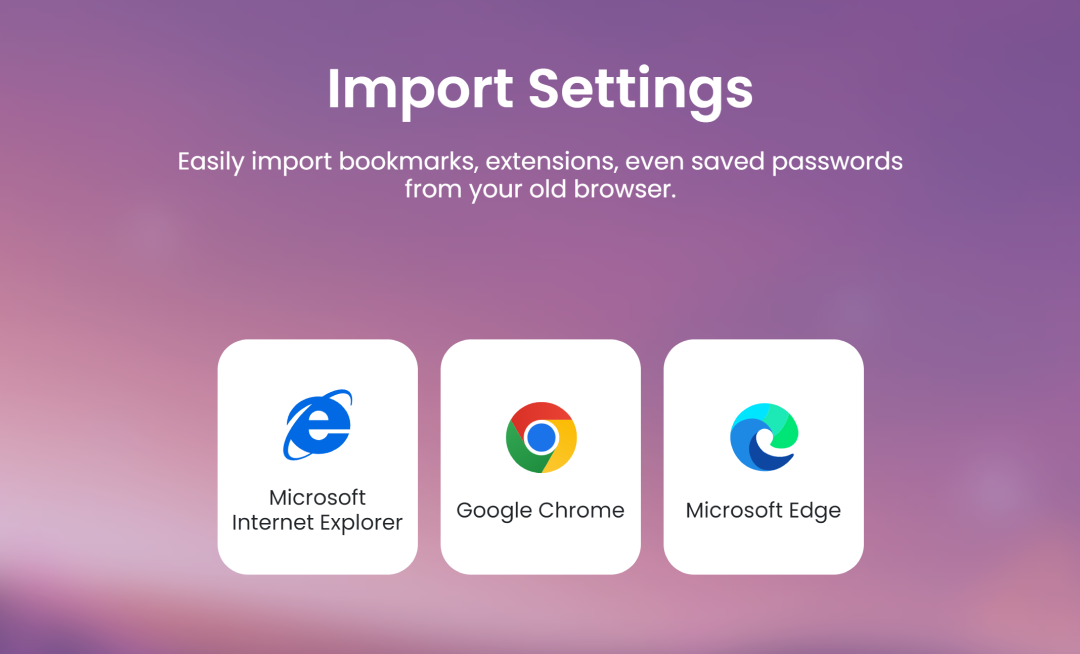
Wait for the installation to finish, then import your browser settings from Chrome.
If your download didn’t start automatically, click here.