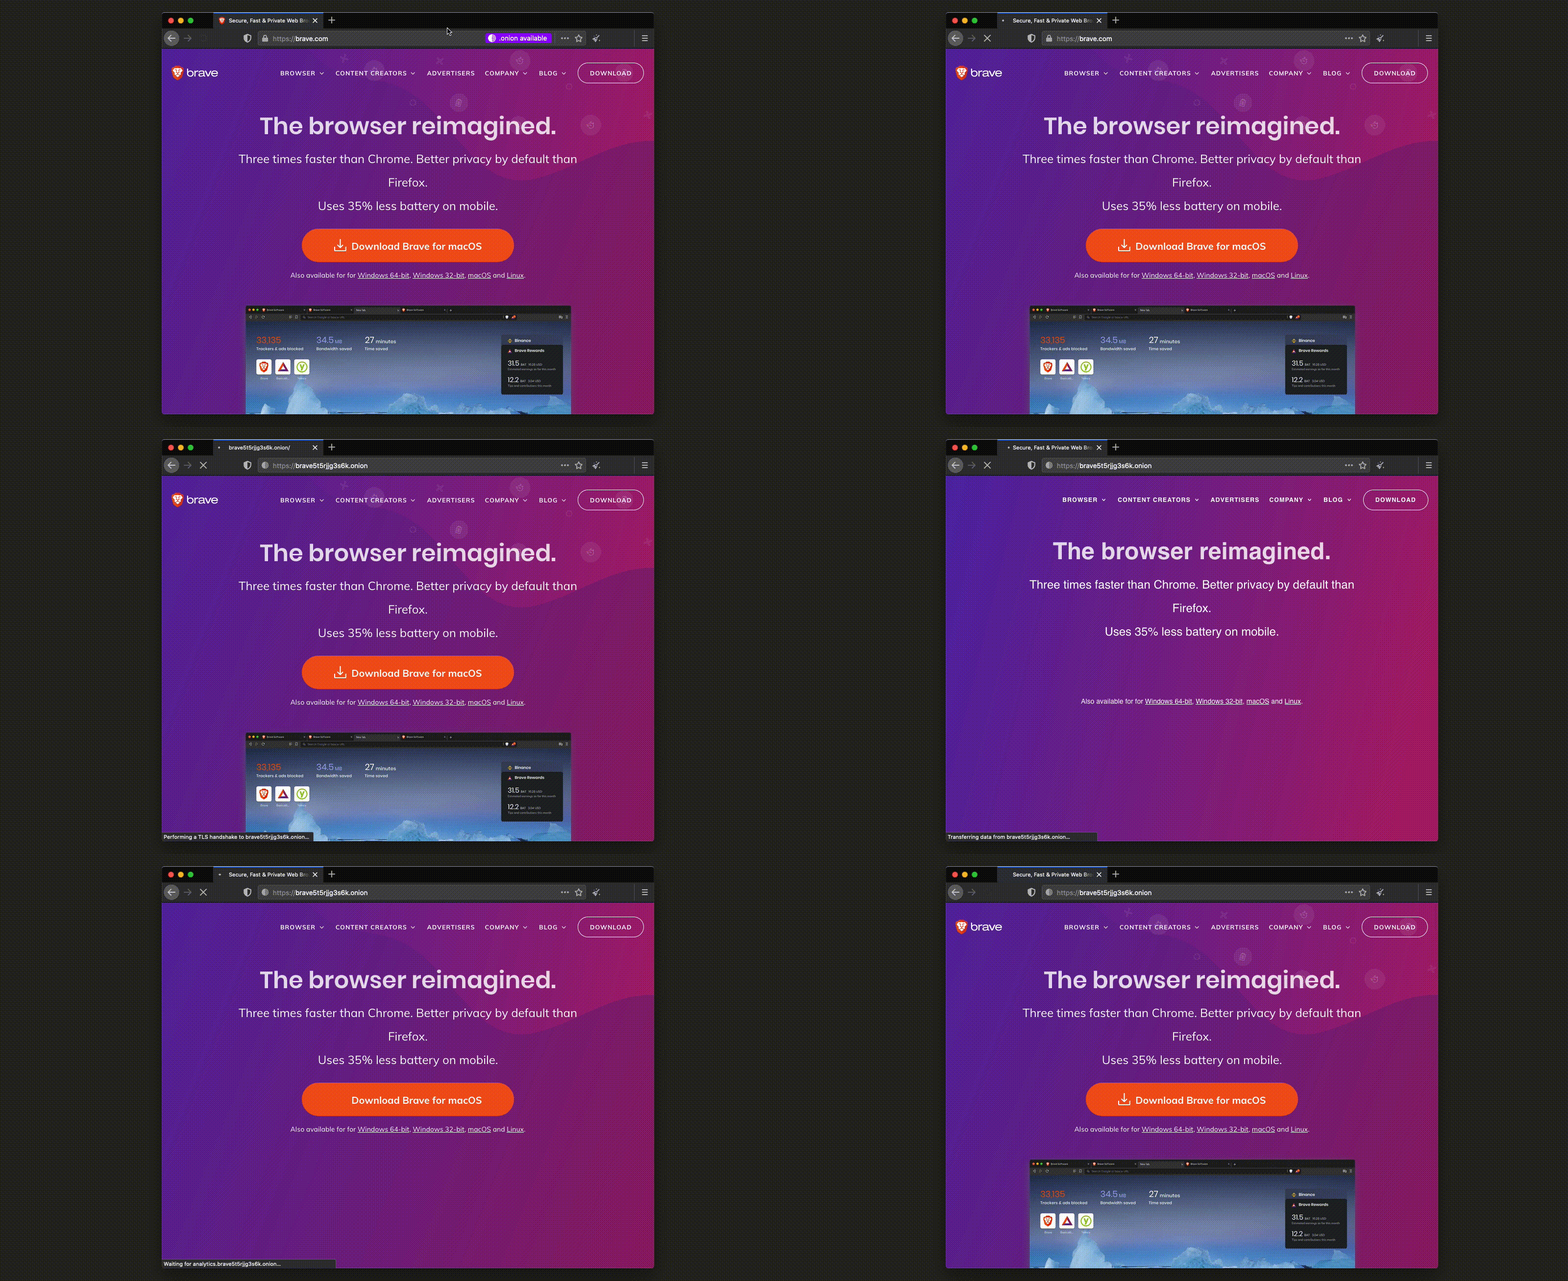
.onion address has been updated to brave4u7jddbv7cyviptqjc7jusxh72uik7zt6adtckl5f4nwy2v72qd.onion
By Ben Kero, Devops Engineer at Brave
In 2018, Brave integrated Tor into the browser to give our users a new browsing mode that helps protect their privacy not only on device but over the network. Our Private Window with Tor helps protect Brave users from ISPs (Internet Service Providers), guest Wi-Fi providers, and visited sites that may be watching their Internet connection or even tracking and collecting IP addresses, a device’s Internet identifier.


We are, and always have been, hugely thankful for the work and mission that the Tor team brings to the world. To continue our support, we wanted to make our website and browser download accessible to Tor users by creating Tor onion services for Brave websites. These services are a way to protect users’ metadata, such as their real location, and enhance the security of our already-encrypted traffic. This was desired for a few reasons, foremost of which was to be able to reach users who could be in a situation where learning about and retrieving Brave browser is problematic.
We’ll go through the process of creating this setup, which you should be able to use to create your own onion service.
To start the process we ‘mined’ the address using a piece of software called a miner: I chose Scallion due to Linux support and GPU acceleration. Mining is the computationally expensive process of creating a private key to prove a claim on an onion address with a desired string. Onion (v2) addresses are 16 character strings consisting of a-z and 2-7. They end in .onion, and traffic to .onion domains does not exit the Tor network. V3 addresses are a longer, more secure address which will provide stronger cryptography, which we will soon migrate to.
In our case we wanted a string that started with ‘brave’ followed by a number. A six-character prefix only takes around 15 minutes when mined on a relatively powerful GPU (we used a GTX1080). The end result is a .onion address and a private key that allows us to advertise we are ready and able to receive traffic sent to this address. This is routed through a ‘tor’ daemon with some specific options.
After we mined our onion address we loaded it up in EOTK. The Enterprise Onion Toolkit is a piece of software that simplifies setting up a Tor daemon and OpenResty (a Lua-configurable nginx-based) web server to proxy traffic to non-onion web servers. In our case we are proxying traffic to brave.com domains. One last piece was required to complete the setup: a valid SSL certificate.
Without the certificate, upon starting EOTK for the first time, you’ll find that many web assets don’t load. This is due to using a self-signed SSL certificate. For some, this is acceptable. Many onion users are accustomed to seeing self-signed certificate warnings, however for the best experience a legitimate certificate from a CA is necessary. For now, the only certificate authority issuing certificates for .onion addresses is DigiCert. They provide EV certificates for .onion addresses including SANs, with the exciting addition of wildcard SANs, which are otherwise not allowed in an EV certificate!

$ openssl genrsa -out onionxxxxxx_onion.key 4096 # Create the private key
$ cat > san.cnf <<EOF # Create a CSR config file
[ req ]
default_bits       = 2048
distinguished_name = req_distinguished_name
req_extensions     = req_ext
prompt             = no
[ req_distinguished_name ]
countryName         = US
stateOrProvinceName = California
localityName        = San Francisco
organizationName    = Your Organization Here
commonName          = onionxxxxxx.onion
[ req_ext ]
subjectAltName = @alt_names
[alt_names]
DNS.1   = *.onionxxxxxx.onion
DNS.2   = *.s3.onionxxxxxx.onion
EOF
$ # Create the CSR to give to DigiCert
$ openssl req -new -verbose -out sslcert.csr -key onionxxxxxx_onion.key -config san.cnf

$ cat brave.conf
set hardcoded_endpoint_csv ^/\\.well-known/pki-validation/fileauth.txt$,abc123
hardmap secrets/${var.onion_domain}.key ${var.external_domain}
We had to reissue certificates a few times (requiring more rounds of human validation for the EV cert requirements) in order to add some SAN wildcard subjects for our various subdomains (for example *.brave.com will not match example.s3.brave.com). One thing to note here is that even if you update the SAN subjects in your CSR, this will not add them to the reissued cert. They must be added through DigiCert’s web interface, and it can be easy to miss.

EOTK does some string manipulation to rewrite URLs and some text on the pages so that they refer to the .onion addresses (example: a link to “brave.com/blog” becomes “brave5t5rjjg3s6k.onion/blog”). This is mostly desirable, although some strings should be preserved. For example we have several email addresses listed on brave.com such as press@brave.com. This was being rewritten as press@brave5t5rjjg3s6k.onion. Since we don’t (yet) run an email server as an onion service these email addresses won’t work, thus they should be preserved as press@brave.com. EOTK has a “preserve_csv” option to maintain these static strings.
set preserve_csv adsales,adsales@brave\\.com,i,adsales@brave.com \
                   bizdev,bizdev@brave\\.com,i,bizdev@brave.com \
                   press,press@brave\\.com,i,press@brave.com
Another suggestion is to include an Onion-Location response header on your web site, which points to your onion address. This hints at the user and their browser that the site is also available as an Onion service, and that they can visit that site if they so choose.
Of course this novel daemon setup needed to run *somewhere*. In accordance with our standard devops practices at Brave, we wrote infrastructure-as-code using Terraform to deploy and maintain this. It is currently deployed in AWS EC2 with private keys secured in AWS SSM and loaded on boot. In a future iteration of the code we’d like to implement OnionBalance so that we can provide more redundancy and scalability to our onion services.
Toggle Technical Details
resource "aws_instance" "web" {
  # Ubuntu 18.04, source omitted for length
  ami           = data.aws_ami.ubuntu.id
  instance_type = "t3.micro"

  user_data = <<-USER_DATA
  #!/bin/bash
  # Instructions from https://github.com/alecmuffett/eotk/blob/master/docs.d/HOW-TO-INSTALL.md
  apt update -y; apt install -y git aws-cli

  git clone https://github.com/alecmuffett/eotk.git /eotk
  cd /eotk
  ./opt.d/build-ubuntu-18.04.sh

  export AWS_DEFAULT_REGION=us-west-2
  # Enables HiddenServiceNonAnonymousMode and HiddenServiceSingleHopMode
  export TOR_SINGLE_ONION=1

  cat > default.conf <<-EOF
  set hardcoded_endpoint_csv ^/\\.well-known/pki-validation/fileauth.txt$,abcdefg
  hardmap secrets/onionxxxxxx.key onionxxxxxx
  EOF

  # Ideally place these somewhere secret, like AWS SSM
  (umask 077
   cat > secrets.d/onionxxxxxx.key <<-EOF
   -----BEGIN RSA PRIVATE KEY-----
   -----END RSA PRIVATE KEY-----
   EOF
  )

  ./eotk config default.conf
  mkdir projects.d/default.d/ssl.d

  (umask 077
   cat > projects.d/default.d/ssl.d/onionxxxxxx.onion.pem <<-EOF
   -----BEGIN PRIVATE KEY-----
   -----END PRIVATE KEY-----
   EOF

   # 2 certs in here, DigiCert's intermediate and ours
   cat > projects.d/default.d/ssl.d/onionxxxxxx.onion.cert <<-EOF
   -----BEGIN CERTIFICATE-----
   -----END CERTIFICATE-----
   -----BEGIN CERTIFICATE-----
   -----END CERTIFICATE-----
   EOF
  )

  ./eotk start default
  USER_DATA
}
Hopefully this post has taught you how we’ve been able to set this up at Brave, and how you can replicate our success to run an onion service for yourself. If you have any questions please feel free to reach out to me at bkero@brave.com, or on X (formerly Twitter) at @bkero.
I’d like to thank Alec Muffett, the author of EOTK, for his invaluable assistance in helping me overcome all the challenges related to setting this up, and for encouraging me to do things the harder but more correct way. I’d also like to thank Kenyon Abbott at DigiCert for his assistance in helping with the process of issuing and re-issuing the certificate and enduring the multiple iterations necessary to get our certificate working.


