How to add Brave Search to Claude Desktop with MCP
This guide covers the steps required to enable Brave Search as a tool to be used in the Claude desktop app using the Model Context Protocol (MCP). Since both Brave’s and Anthropic’s products are evolving quickly, it’s best to always check official documentation for the most up-to-date information and instructions. In order to use MCP, you will need to have Node.js installed on your computer. Please note that some Windows users have encountered issues with MCP when using a node installer, rather than node version manager. More information.
Sign-up and create a key for Brave Search API
Register or login to a Brave Search API account.
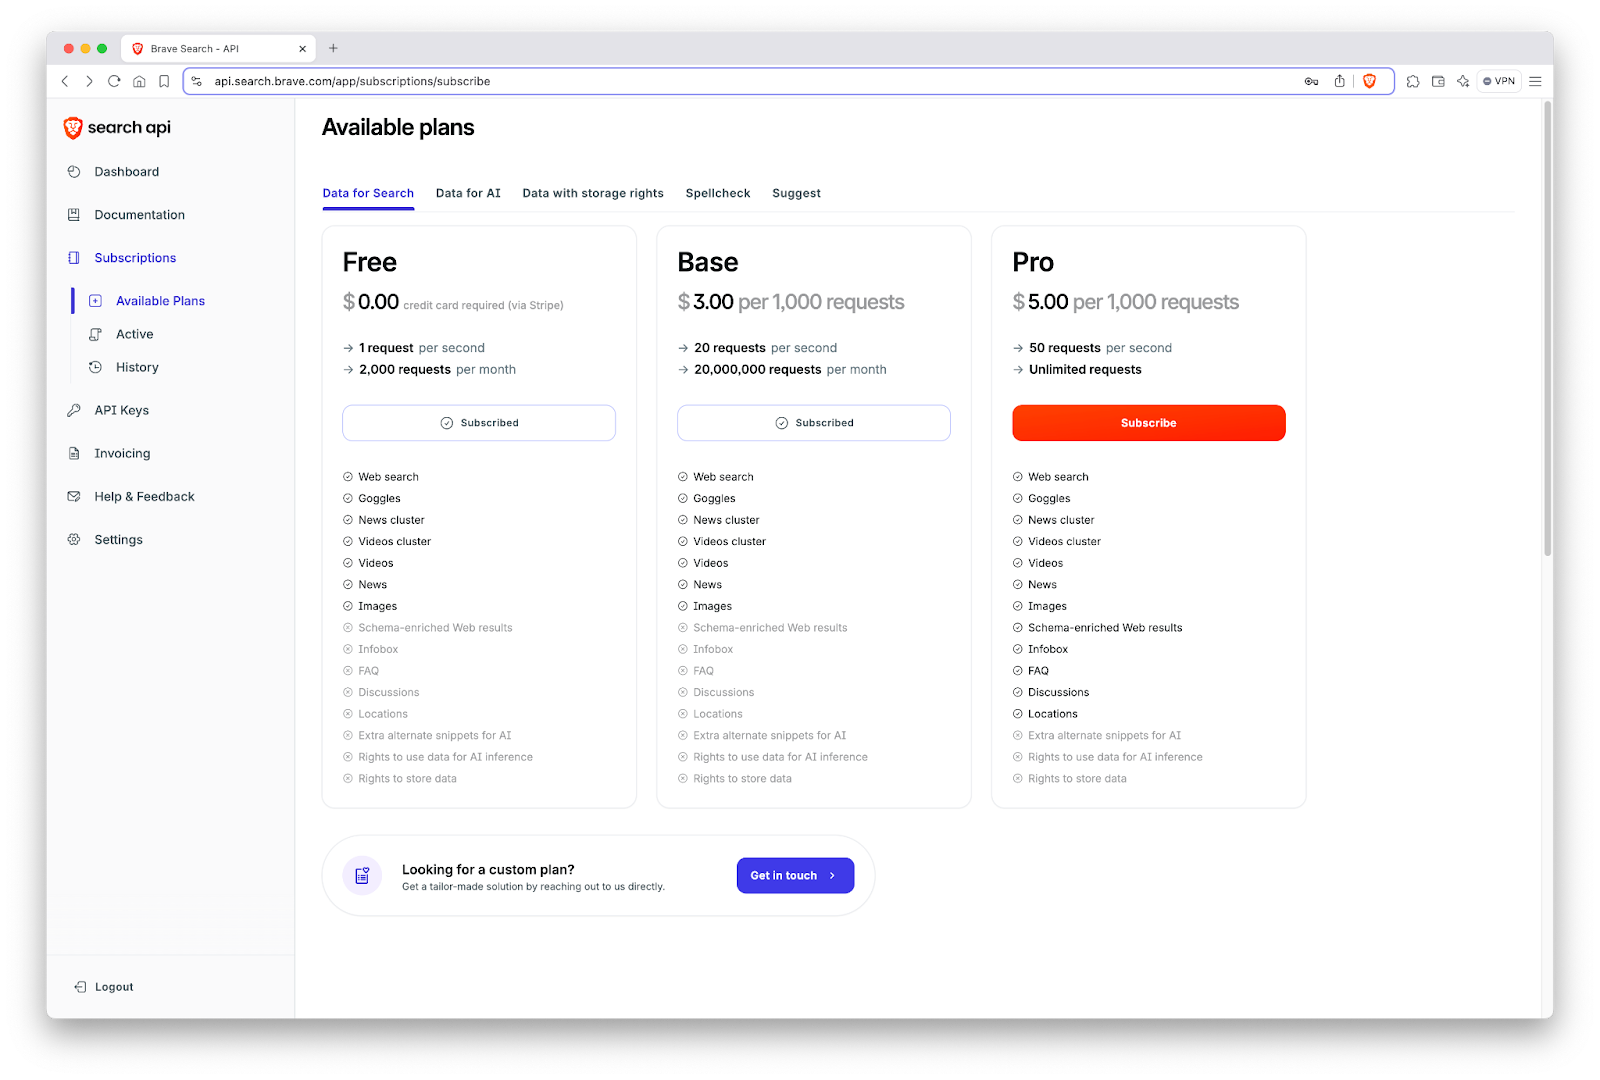
For use with Claude Desktop, you must ensure you are subscribed to the Search plan, which is found under the “Subscriptions” tab in the left hand menu of the dashboard.
On the same menu, visit API keys and click Add API Key to generate a new key. A dialogue box will appear asking you to name the key and select which of your subscribed plans to use.
Note: the Search plan includes $5 in free credits every month, which is usually more than enough for personal use. You can also set a usage limit in your dashboard to help ensure your usage stays free.
Add the Brave Search MCP server
First, visit Settings in the Claude app. Then navigate to the Developer tab and click the “Edit Config” button.
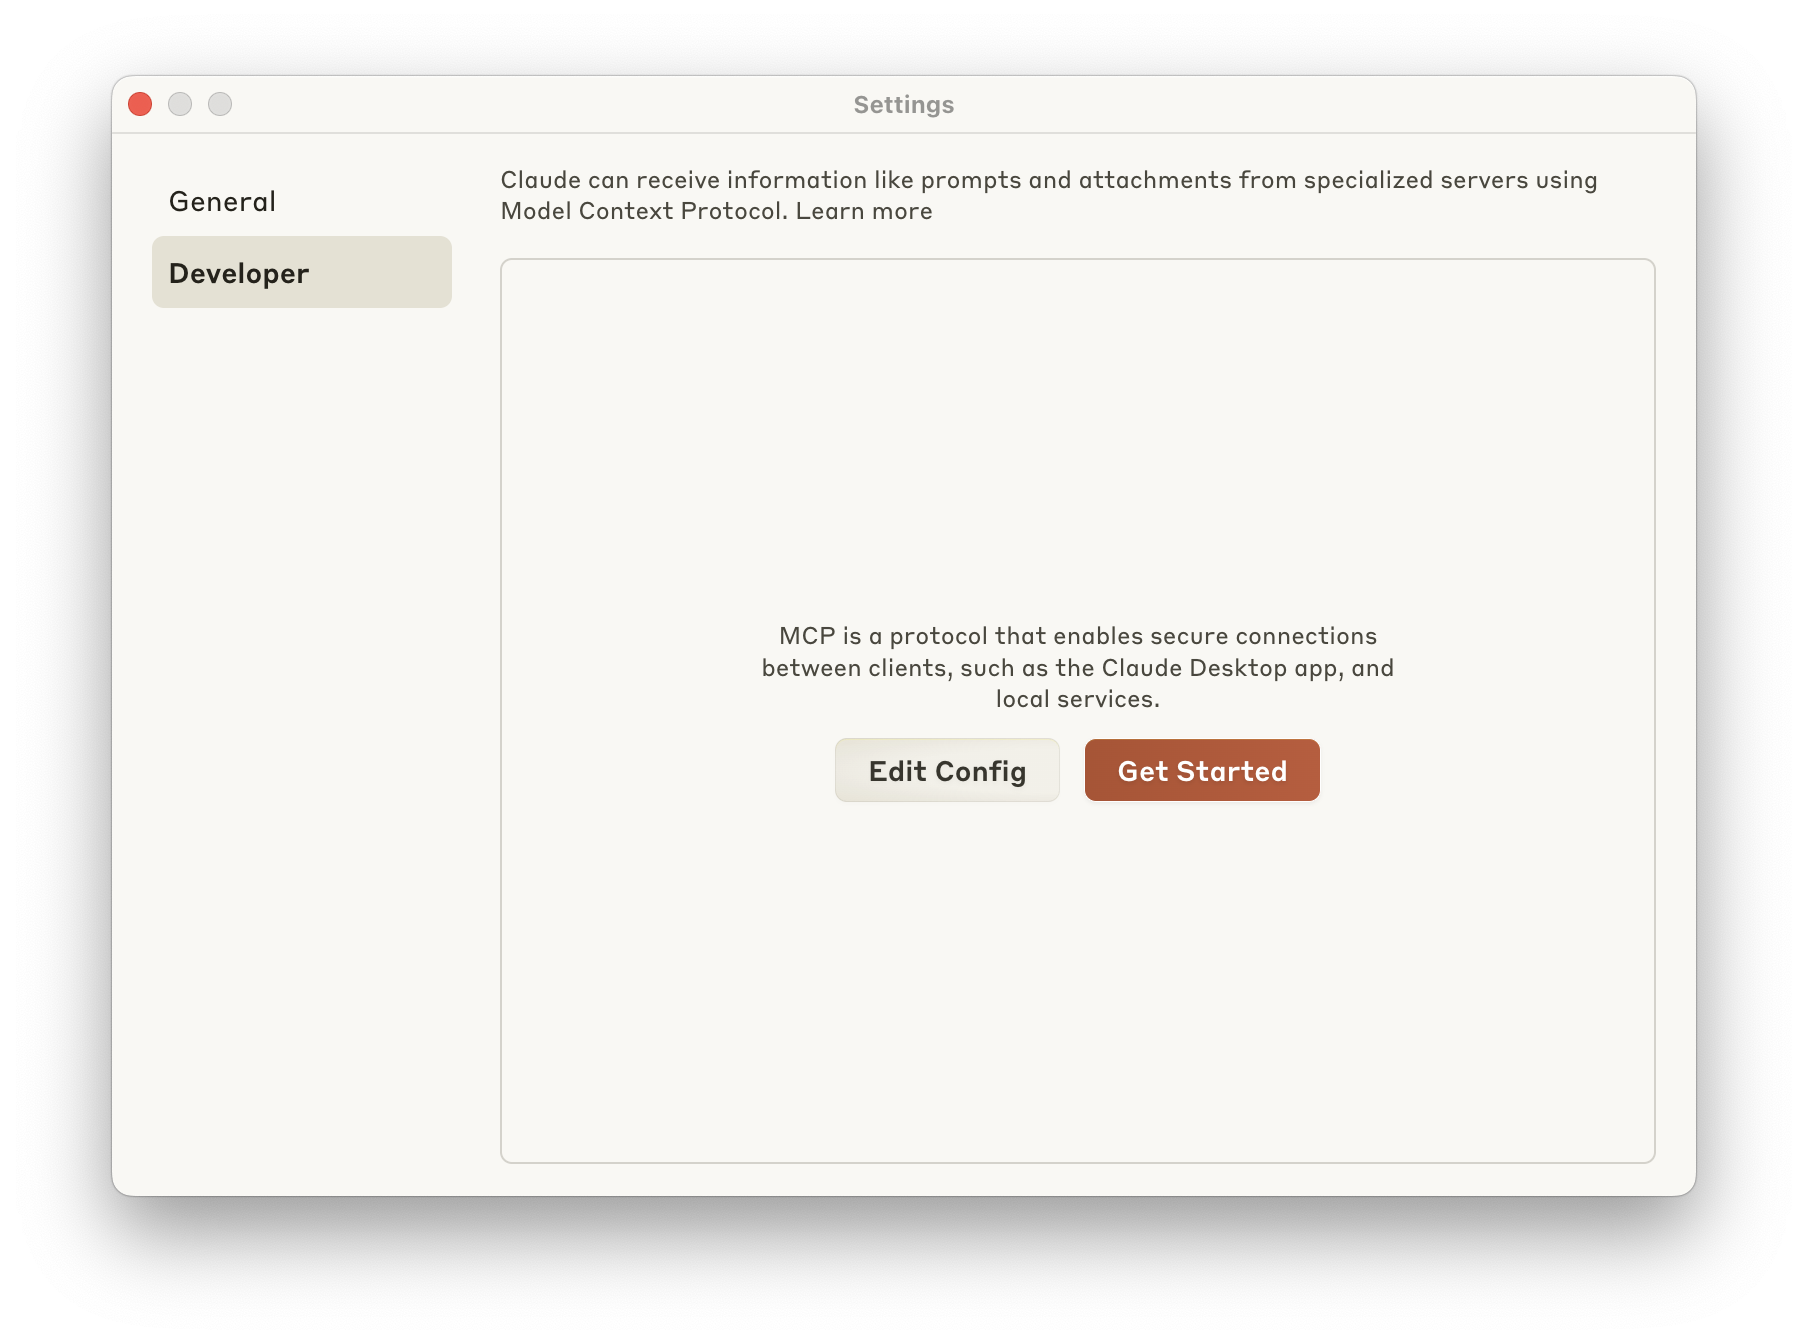
This will create and display a configuration file at:
macOS: ~/Library/Application Support/Claude/claude_desktop_config.json
Windows: %APPDATA%\Claude\claude_desktop_config.json
Next, edit the configuration file in your text editor of choice and replace the contents with the following code, taking care to replace YOUR_API_KEY_HERE (between the quotation marks) with the API key you created during step one. You can find additional instructions in the Brave Search MCP server repo.
{
  "mcpServers": {
    "brave-search": {
      "command": "npx",
      "args": [
        "-y",
        "@brave/brave-search-mcp-server"
      ],
      "env": {
        "BRAVE_API_KEY": "YOUR_API_KEY_HERE"
      }
    }
  }
}
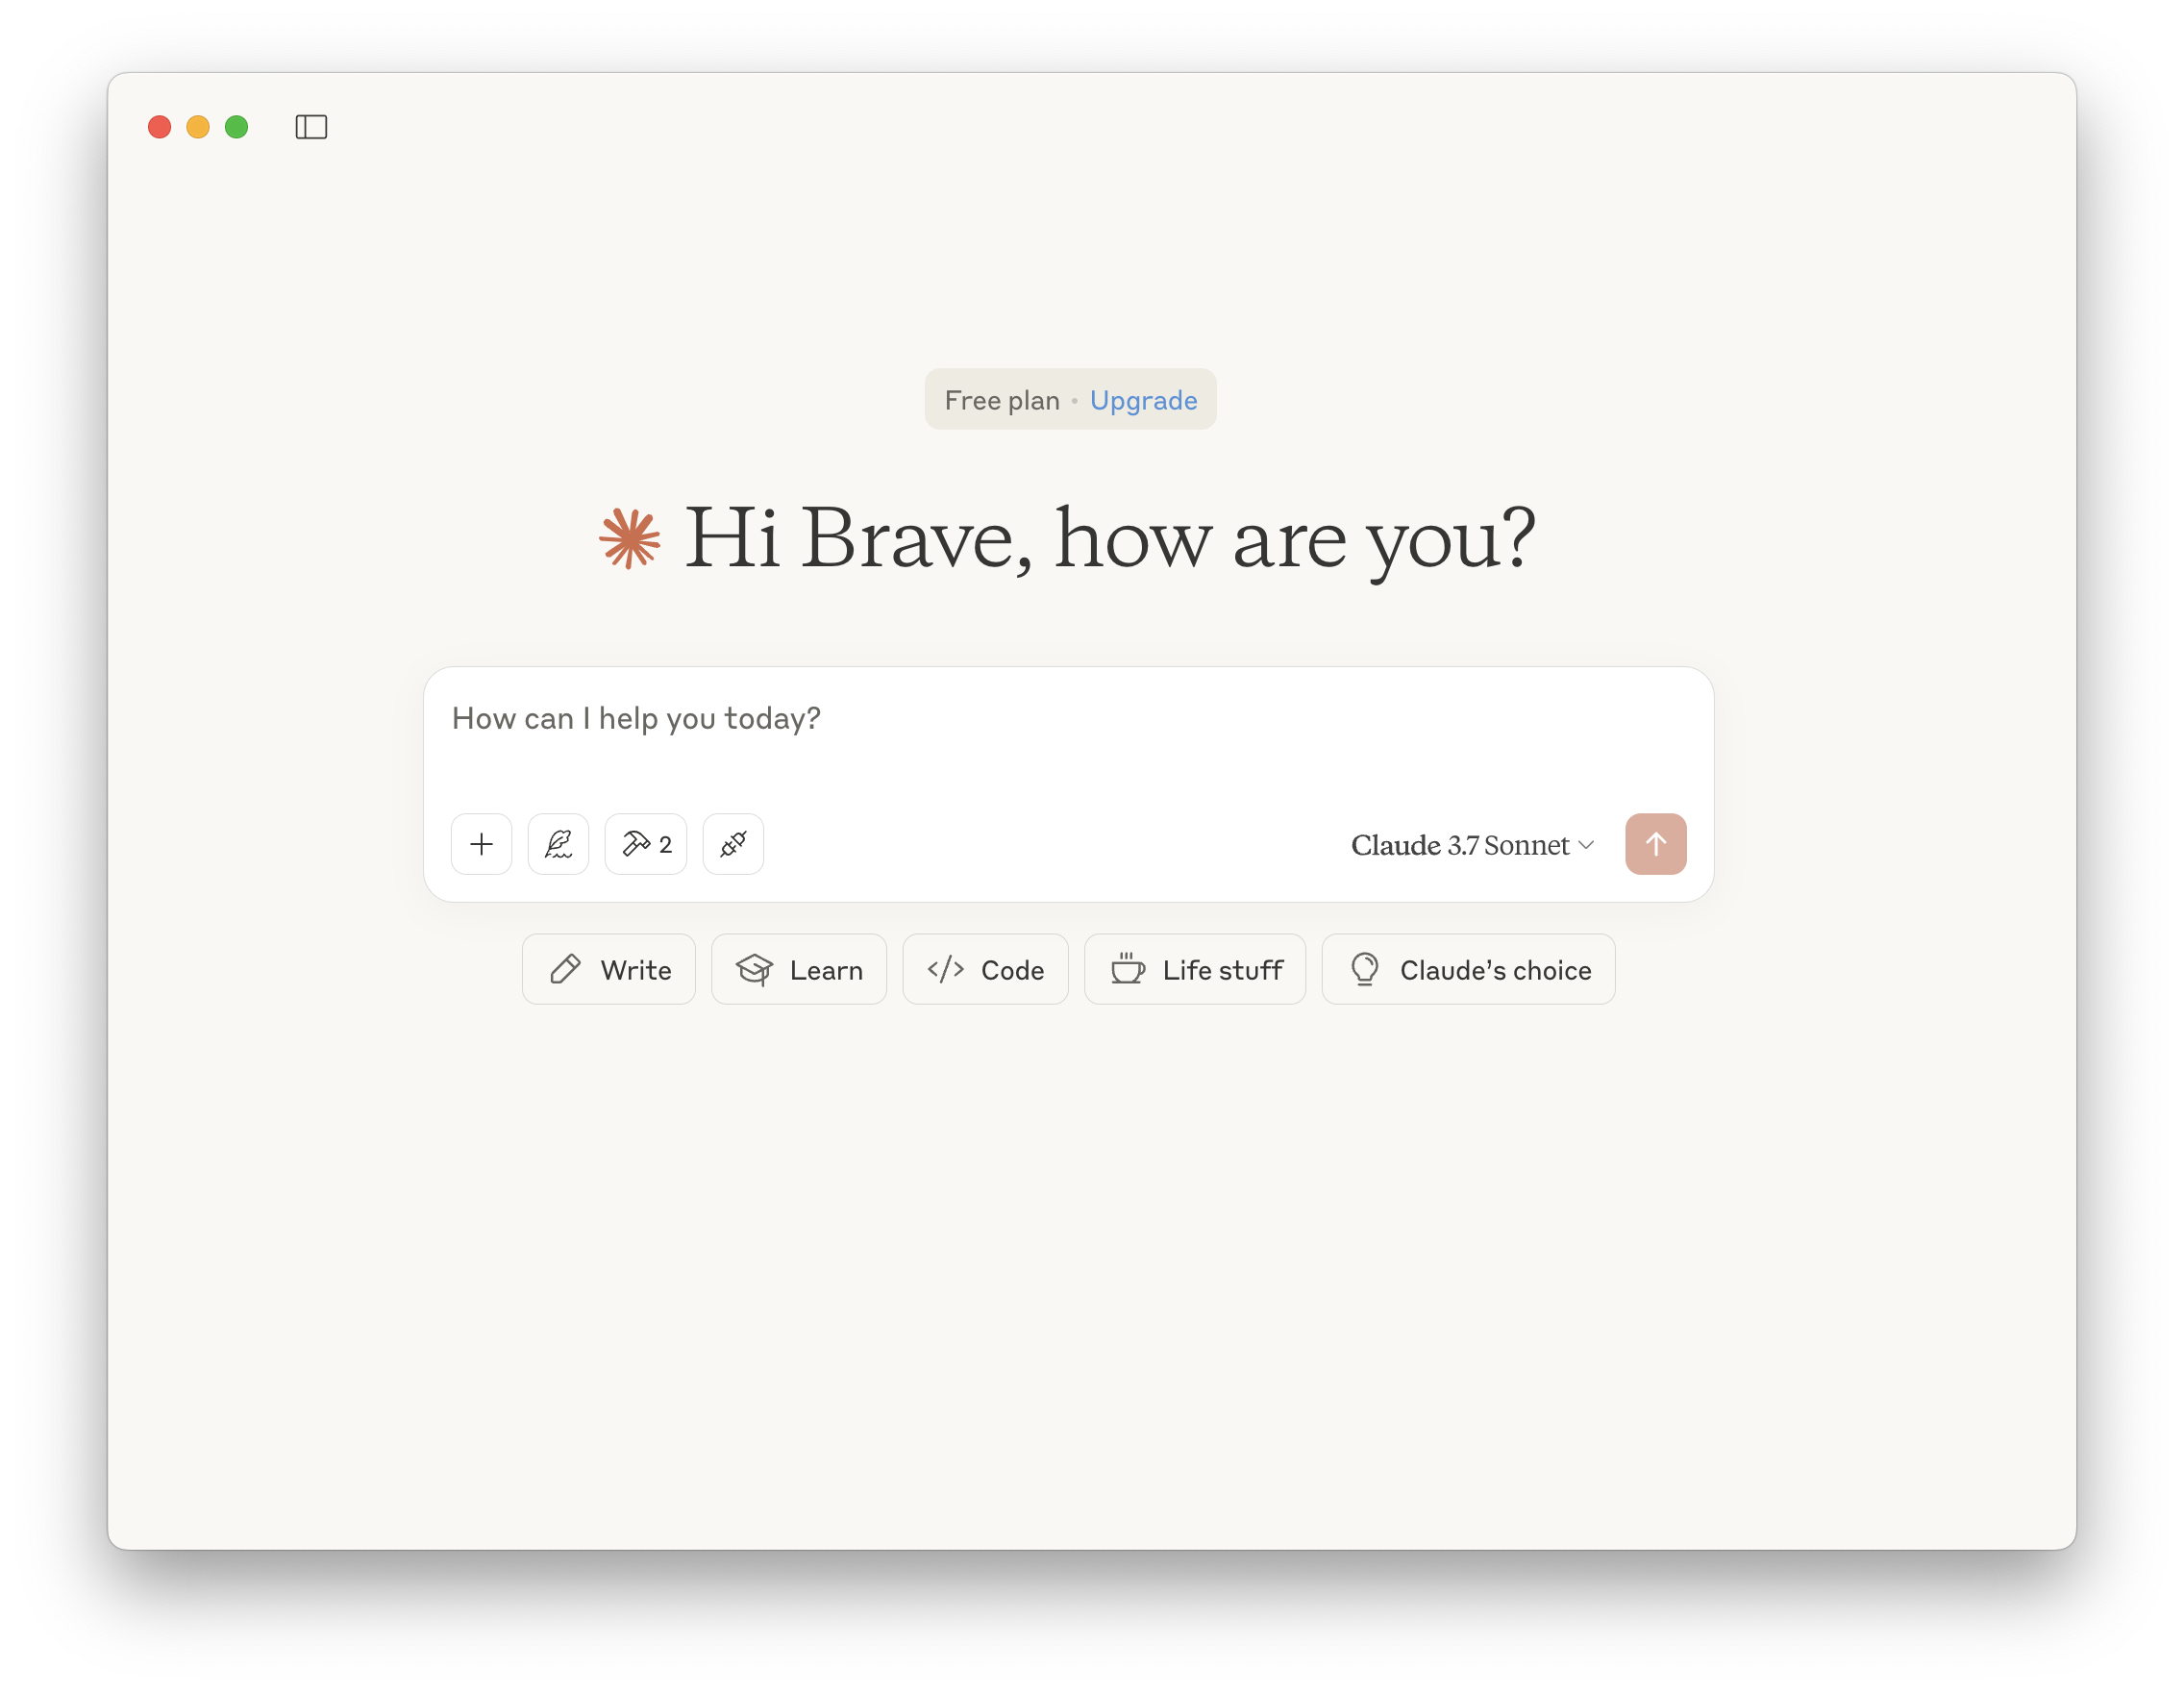
To enable the Brave Search MCP tool, you’ll need to restart the Claude desktop app. Once restarted, you’ll see a small hammer icon indicating that MCP tools are now available for use with Claude.
Ask a question that requires Web search
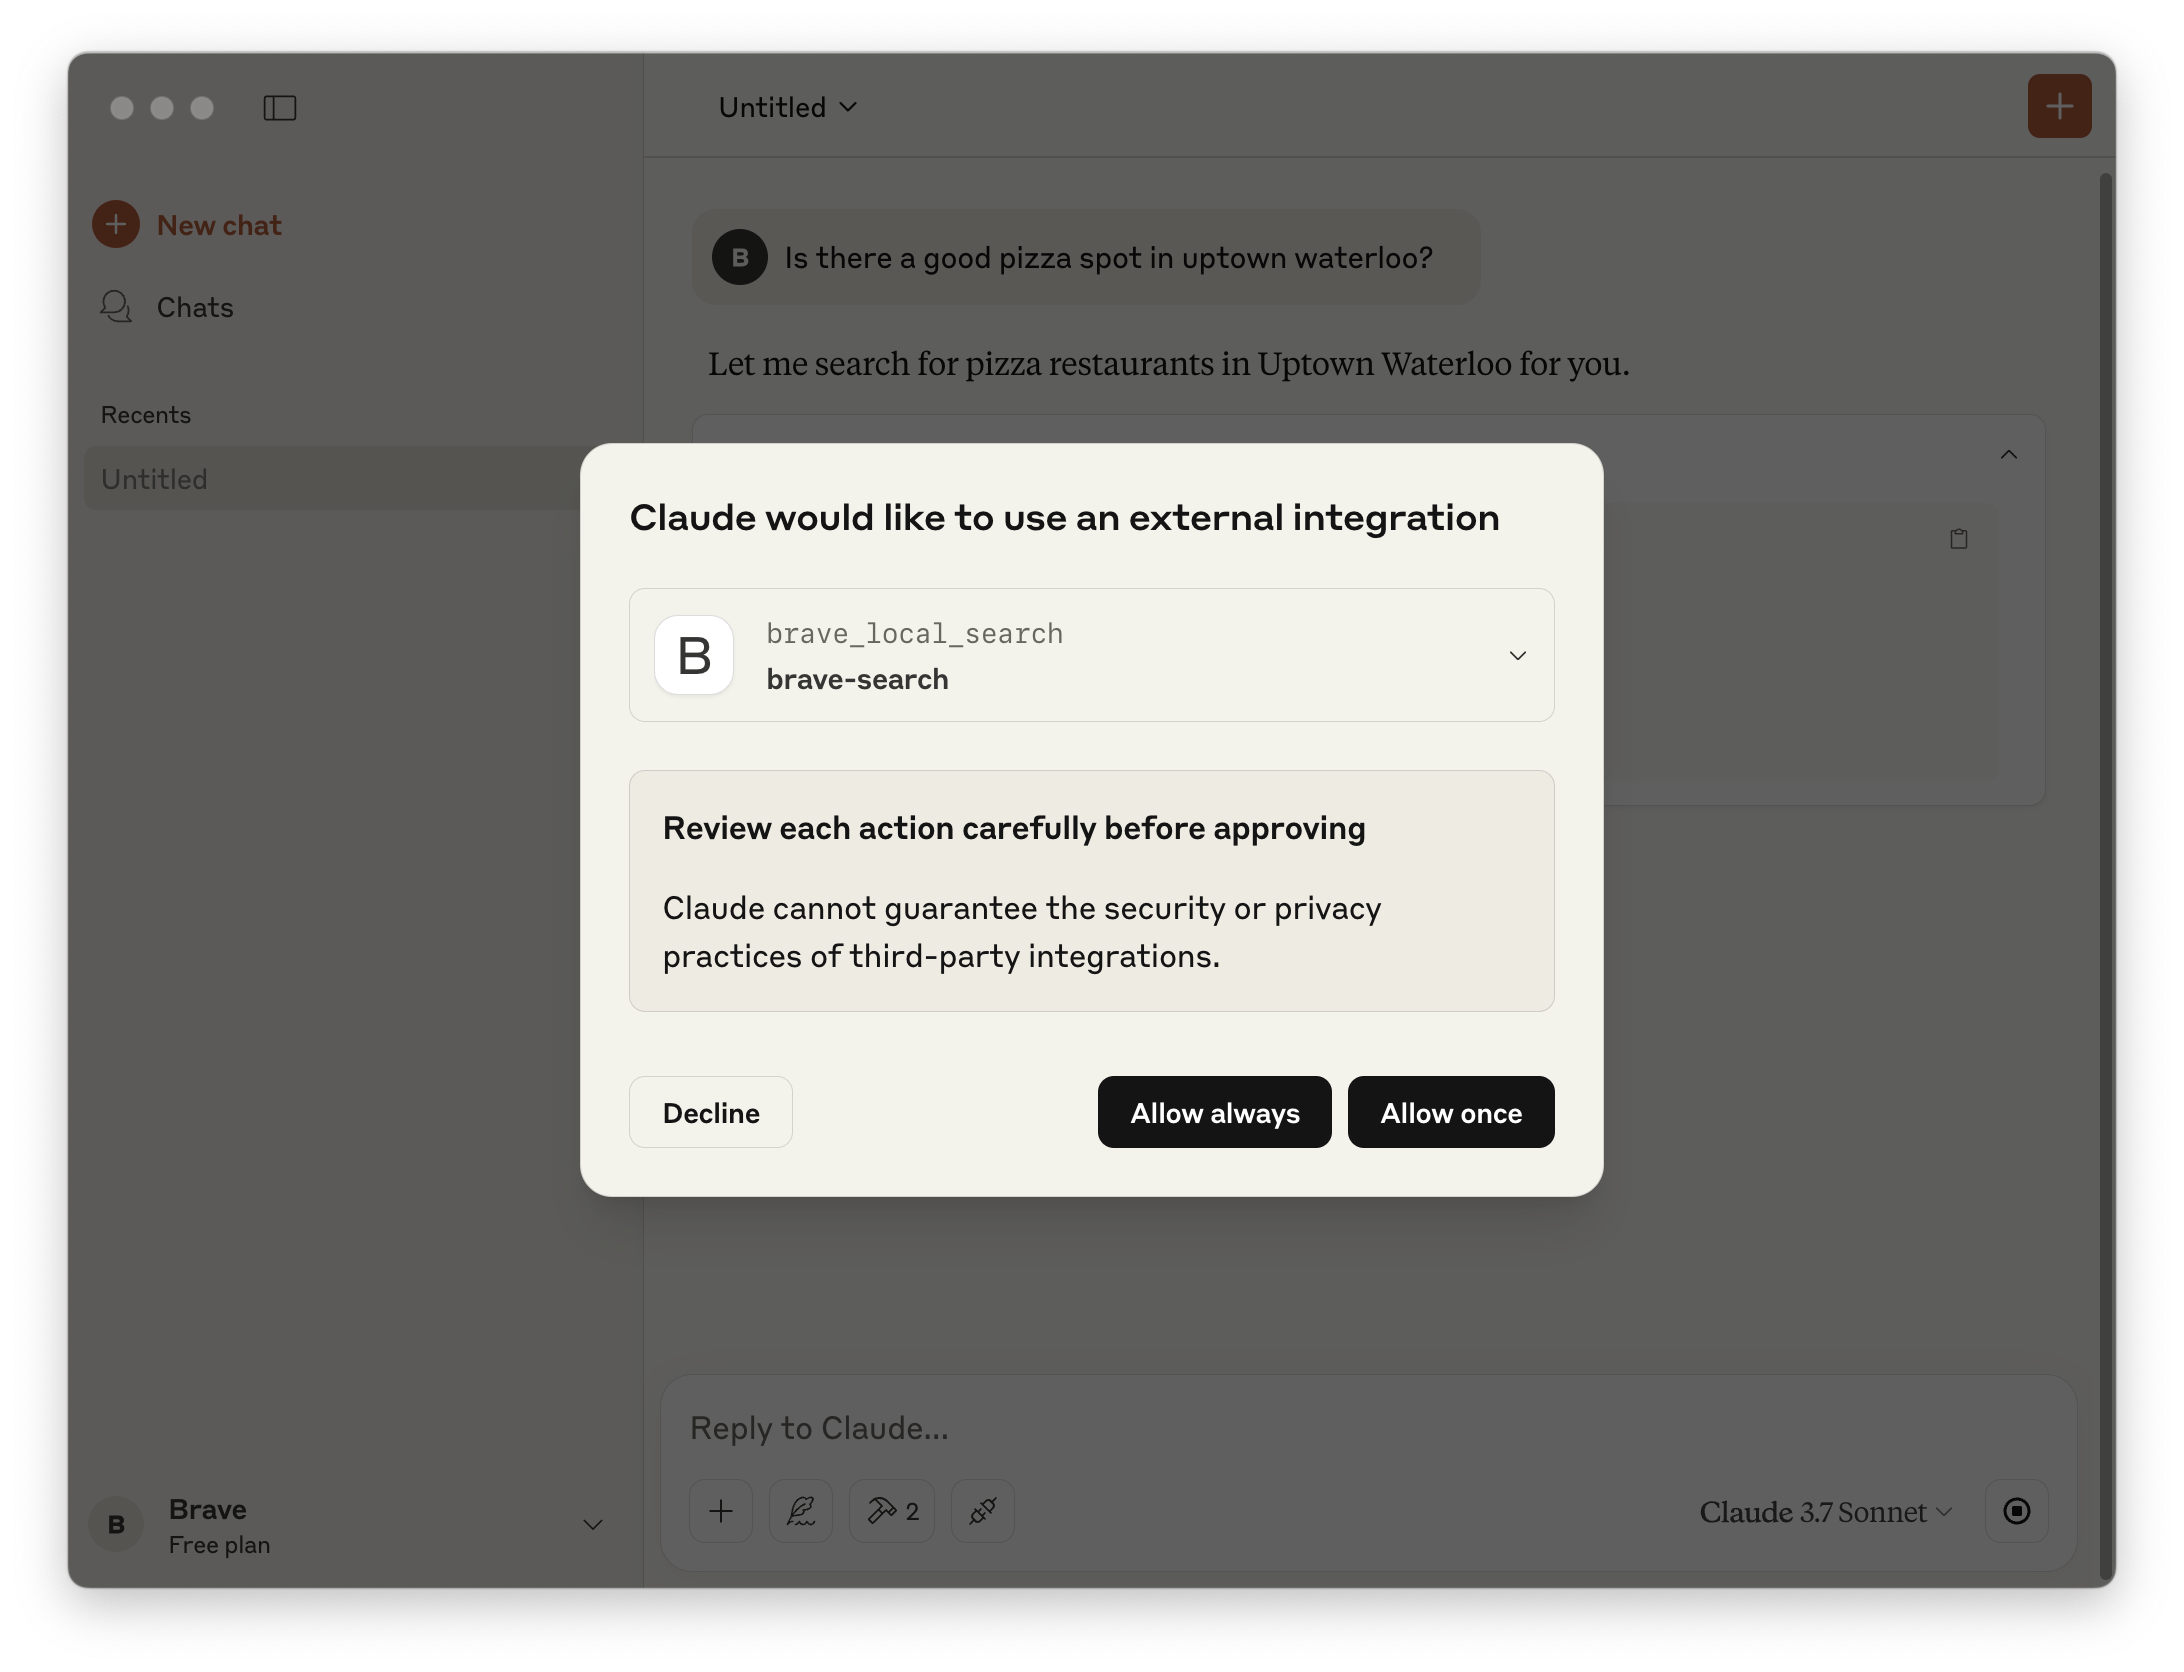
By asking a question that Claude recognizes could be supported with a Web search, you’ll be prompted to allow the use of an external tool and be able to watch in real time as Claude makes a request to the Brave Search API.