Into the Blockchain: Brave with MetaMask
The decentralized web is there for exploring. Trails are being blazed with decentralized applications built on the Ethereum blockchain, with the MetaMask extension providing a bridge to explore and handle decentralized applications (Dapps) from a web browser.
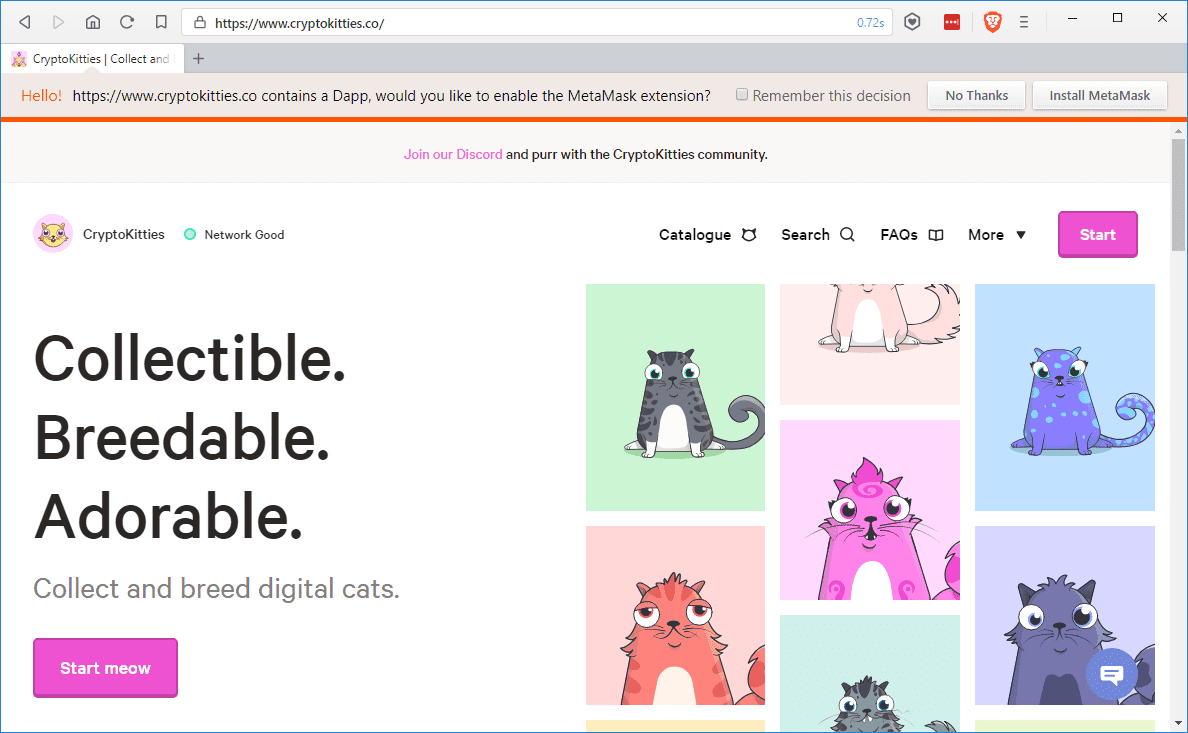
Following the October 2017 ETHWaterloo Hackathon, Brave became the first desktop web browser to suggest MetaMask upon visiting any Web3 site. Brave users see a notification that offers enabling MetaMask to view the content:

Brave’s MetaMask integration enables an additional level of awareness for mainstream users, providing notifications as they encounter sites that contain Dapps. Brave users don’t simply browse, they discover and explore the blockchain ecosystem.
Brave’s MetaMask extension can also be installed via Settings even if the user does not initially visit a Web3 site. With the flip of a switch, Brave opens up a new world of decentralized applications, and the ability to connect with the Ethereum blockchain:

What are Dapps?
The State of the DApps, a curated list of over 1320 decentralized apps, defines decentralized applications as:
…applications which run on a P2P network of computers, instead of one computer. They are considered to be a form of software program designed to function on the internet without being controlled by a single entity. ÐApps can have front-end code and user interfaces written in any language, just like a traditional application, which can make calls to its backend.
What is MetaMask?
MetaMask is an account manager for Web3 applications, and it allows users to run Ethereum Dapps in their browser without running a full Ethereum node. Instead of trusting websites to manage your accounts, MetaMask allows you use your own Ethereum-based accounts on sites you visit, allowing everything from payments, fundraising, voting, peer to peer trading, and so much more, all without paying fractional transfer fees to middle-men, and with explicit, client-side user consent, so that no site can ever perform an action or transfer without the user’s approval. Users new to Dapps or Ethereum should view this video or peruse an introduction guide to get familiar with MetaMask before initiating their first transaction.
How MetaMask Works in Brave
With Brave, you can be up-and-running with MetaMask in only a few seconds.
Start by navigating to Preferences (CMD+, on macOS, Ctrl+, on Windows) and open the Extensions tab. From there, enable MetaMask and wait for the download and setup process to complete. Once the extension has been loaded, a new tab will open to MetaMask’s How it Works page.
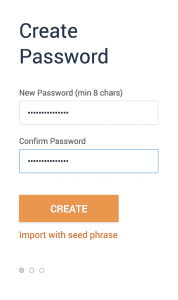 Opening MetaMask for the first time (via the newly-placed icon near your address bar) will present you with the option of creating a new wallet or importing the seed terms for a pre-existing account. Once your account has been established, you can proceed to deposit Ether or begin exploring Dapps.
As you browse the web, the MetaMask extension will inject a bit of code into every website, exposing the Web3 API, and enabling Dapps to communicate with the MetaMask extension itself.
Brave will inform you when you’ve navigated to a Dapp if MetaMask isn’t already enabled. If MetaMask is enabled, pages will be able to prompt you to login, initiate transactions, and more!
Three Neat Things You Can Do with Brave and MetaMask
- Post bounties on GitHub issues with GitCoin.
- Make peer-to-peer trades with Airswap.io.
- CryptoKitties!
Other options include registering names on ENS, which could eventually be used to link to websites, and using Aragon for transparency when managing an organization.
More details about leading Dapps can be found here:
https://www.stateofthedapps.com/
Case Study: Using MetaMask in Brave with AirSwap.io for P2P Token Trading
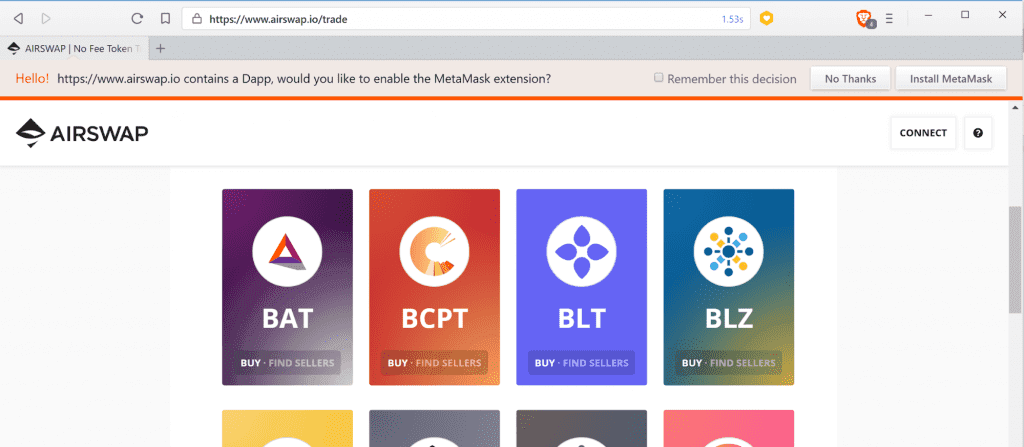
In this case study, we’ll illustrate how a user can access AirSwap.io to purchase a Basic Attention Token (BAT) with Ethereum (ETH) using MetaMask in Brave.
- The user begins by navigating to https://www.airswap.io/trade.
- Brave notifies the user that AirSwap contains a Dapp, which can be accessed if MetaMask is enabled.
- The user clicks to install MetaMask, and checks the box to remember the decision for future use.

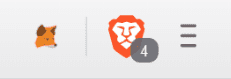
- Once enabled, the MetaMask icon appears next to the Brave shield menu icon.
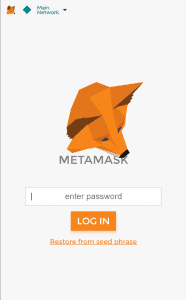
- The user clicks on the MetaMask icon, and enters their MetaMask password to access their account.
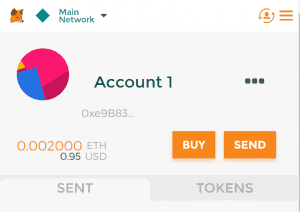
- In this case study, the user already has some ETH in their MetaMask account.
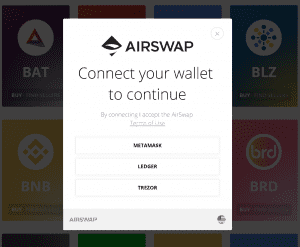
- The user then clicks on the Connect button on the AirSwap page to open the wallet connection options.

- The user selects MetaMask from the wallet connection options.
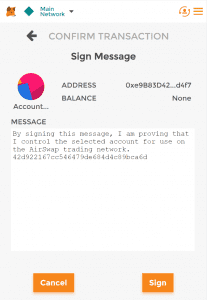
- The user clicks the Sign button to allow the connection between AirSwap and MetaMask from the MetaMask menu.
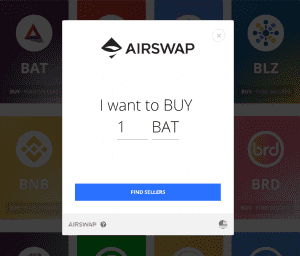
- Once the connection has been established, the user selects BAT from the token options, and places a request to sellers to purchase 1 BAT.
- AirSwap searches for available sellers, and presents an offer to purchase the token.
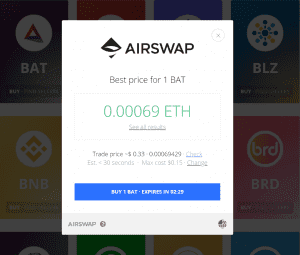
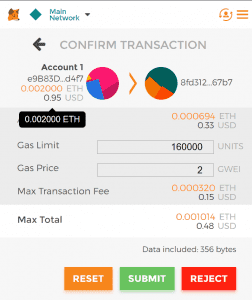
- The user agrees to the offer in AirSwap, and then clicks Submit to confirm the offer in MetaMask.
- AirSwap then completes the purchase, and confirms success.
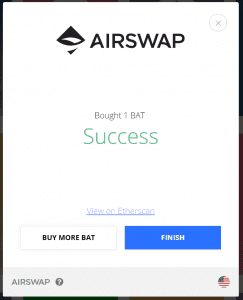
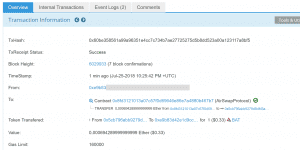
- The user can view the successful transaction in MetaMask, and also view the transaction from Etherscan.
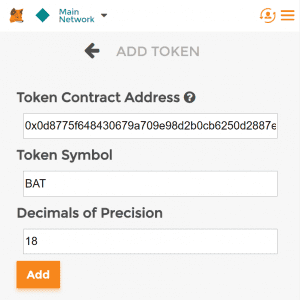
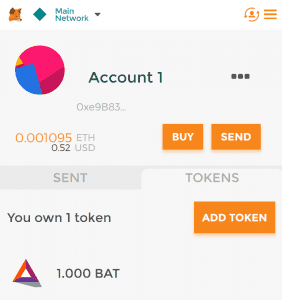
- If the user wishes to view different tokens in MetaMask, they can also add the BAT contract address in the Token menu, and see the BAT they have purchased in MetaMask.
Future
We’ll soon be announcing deeper integration with MetaMask and Ethereum in general with a built-in ETH Wallet, so stay tuned!
A special thank you to Dan Finlay, Lead Developer from MetaMask, for his collaboration on this blog.